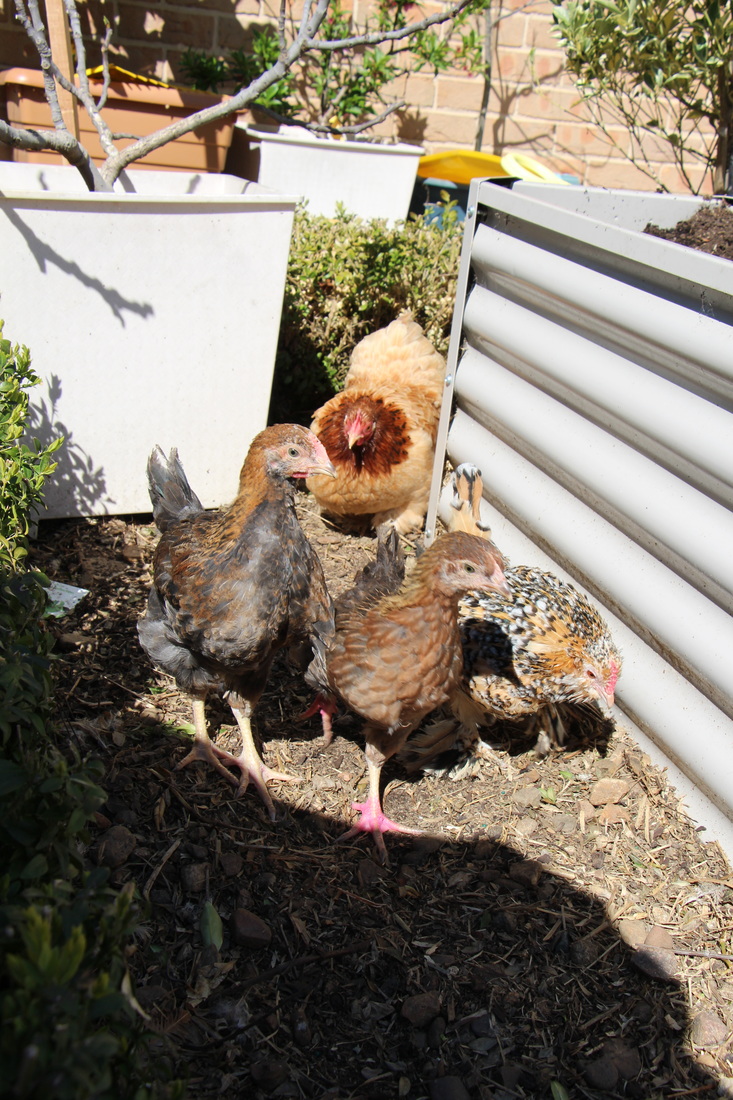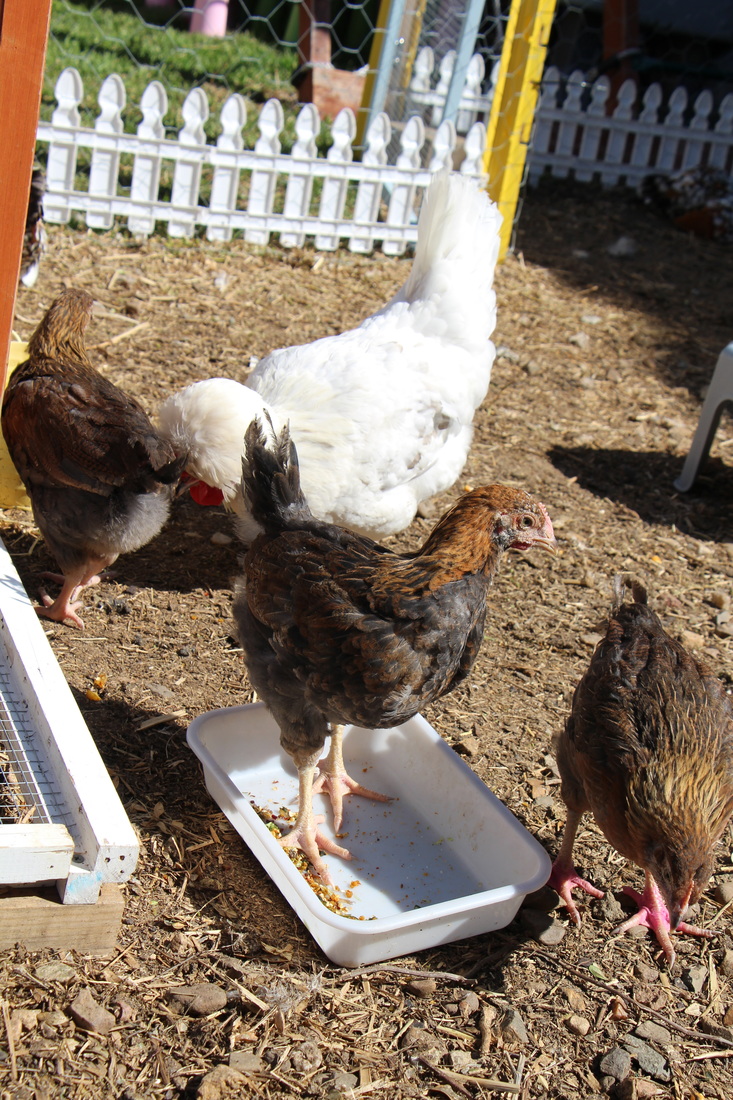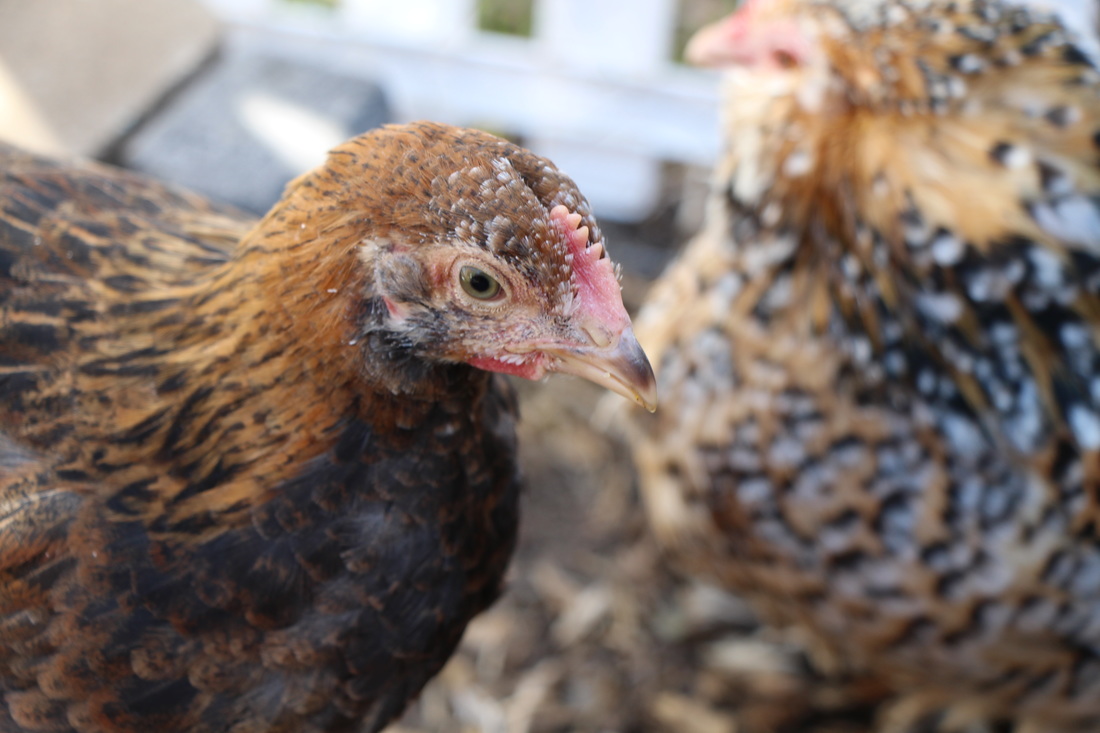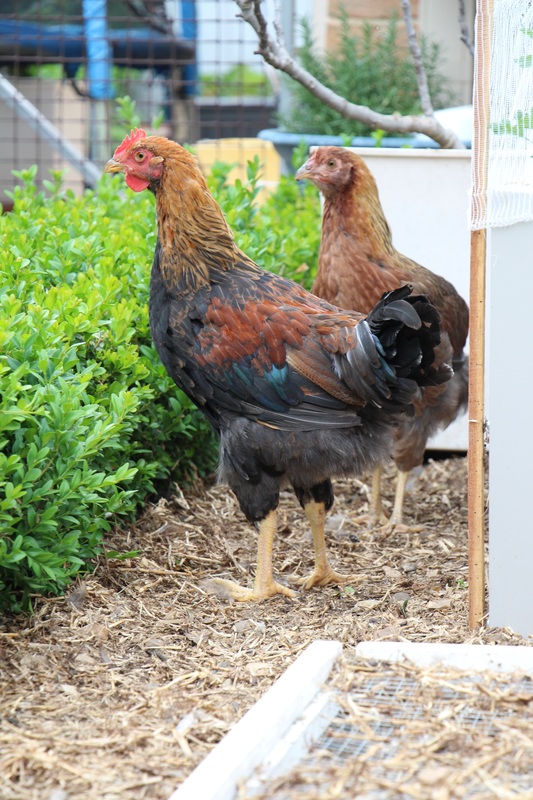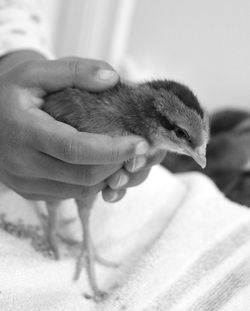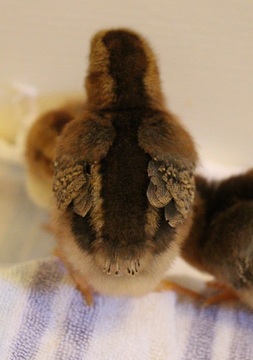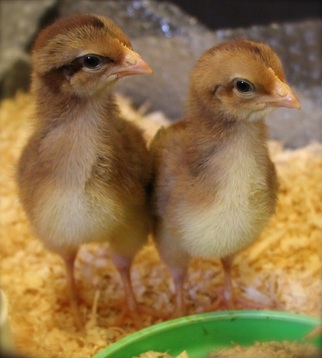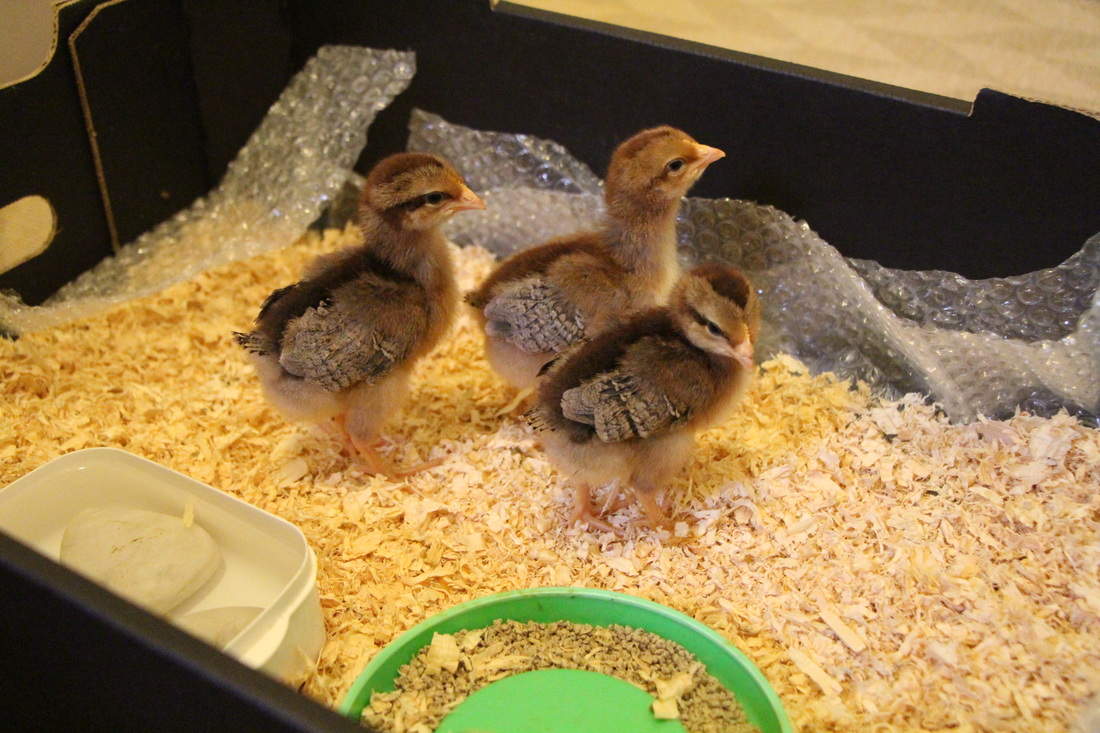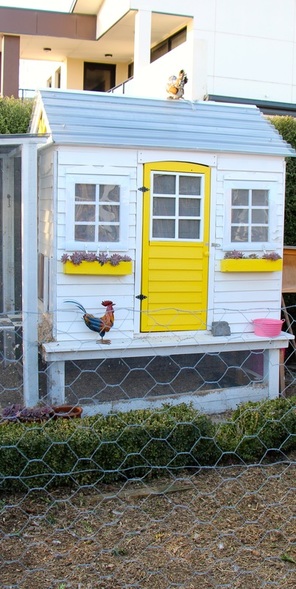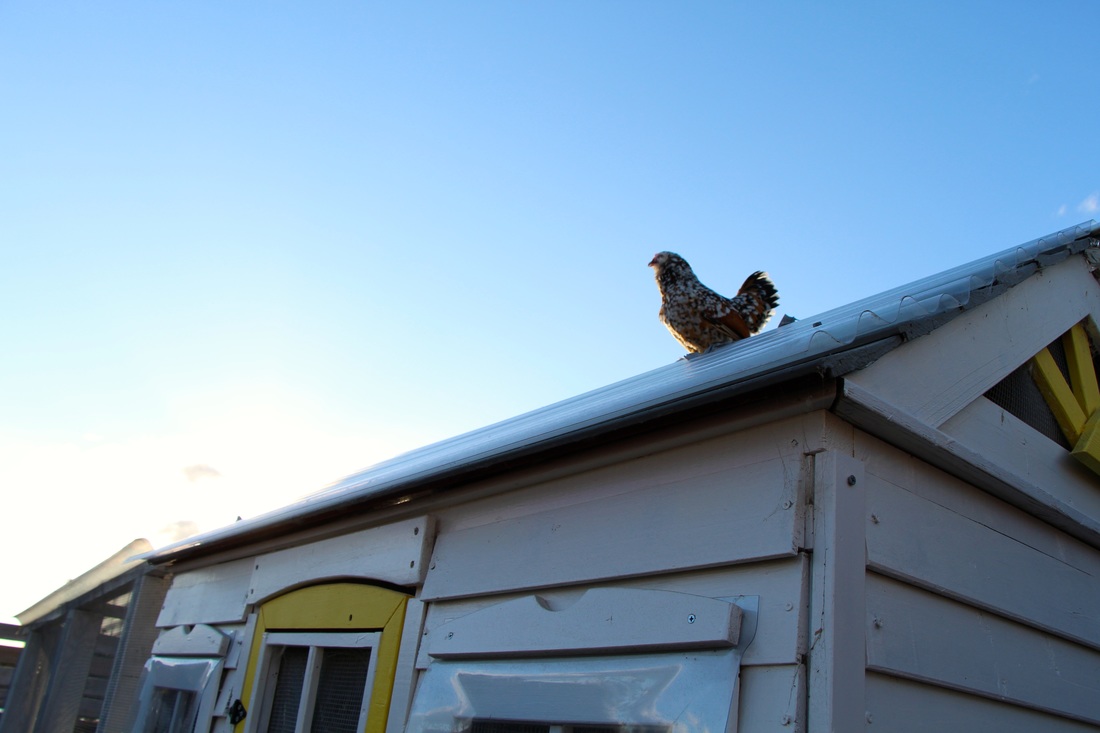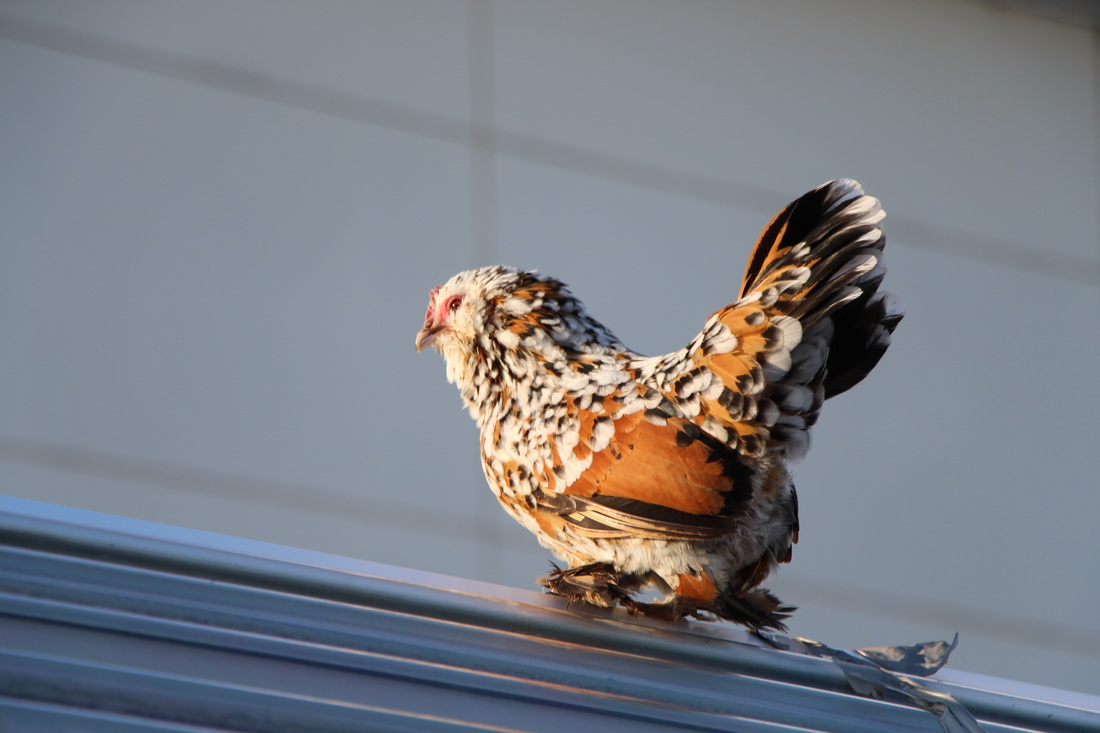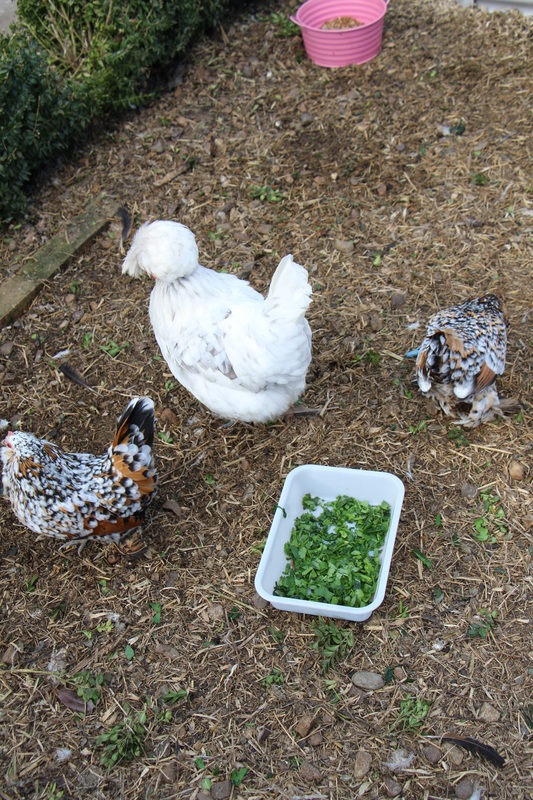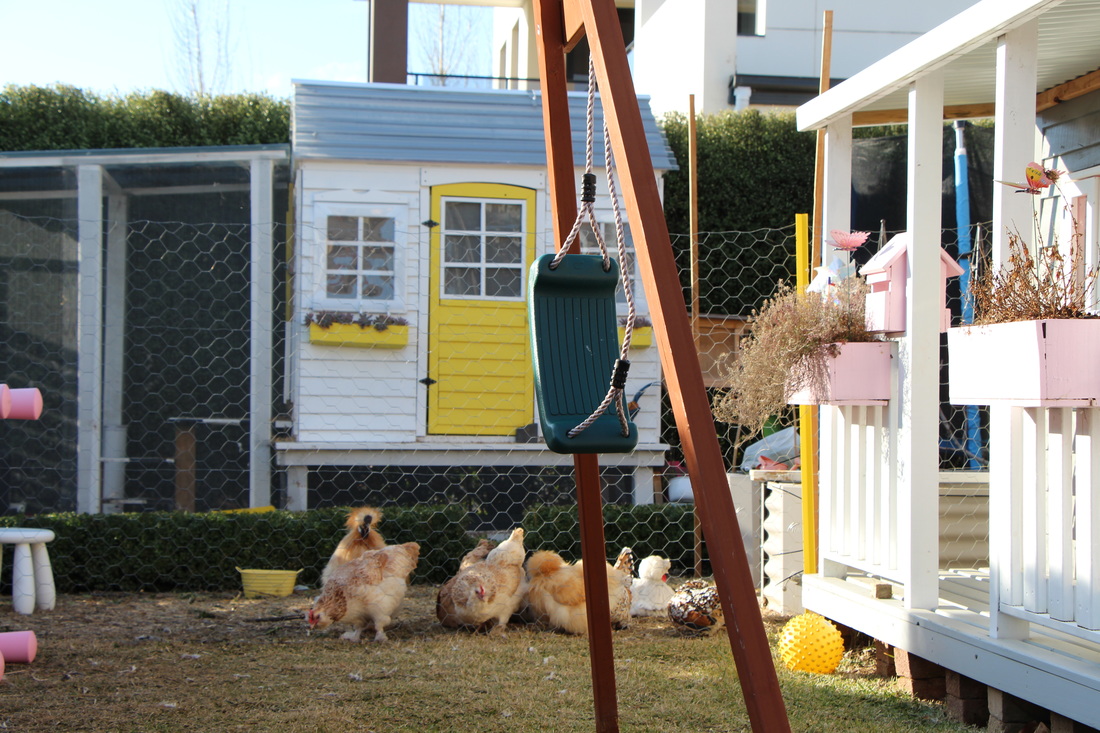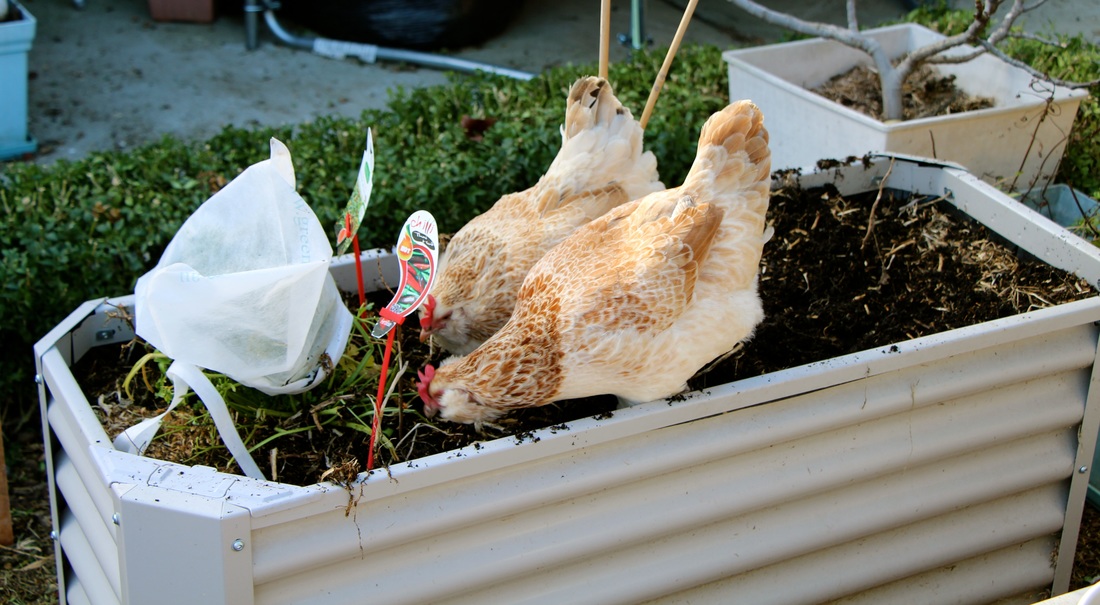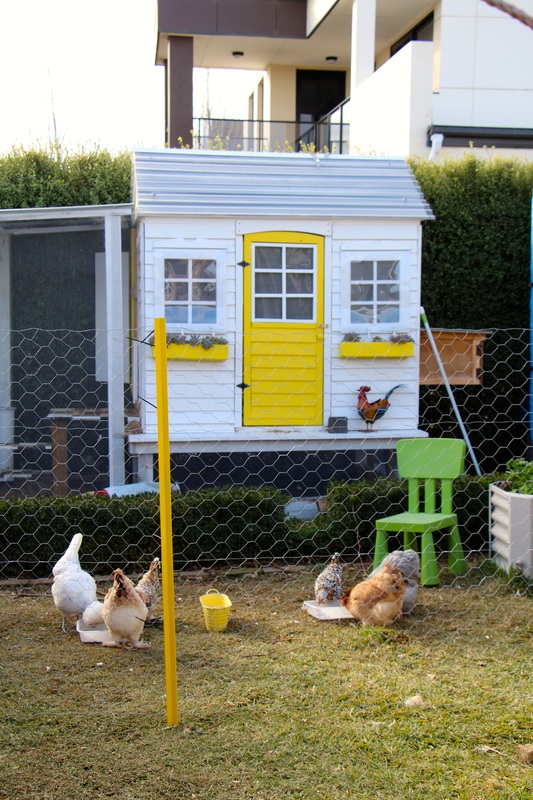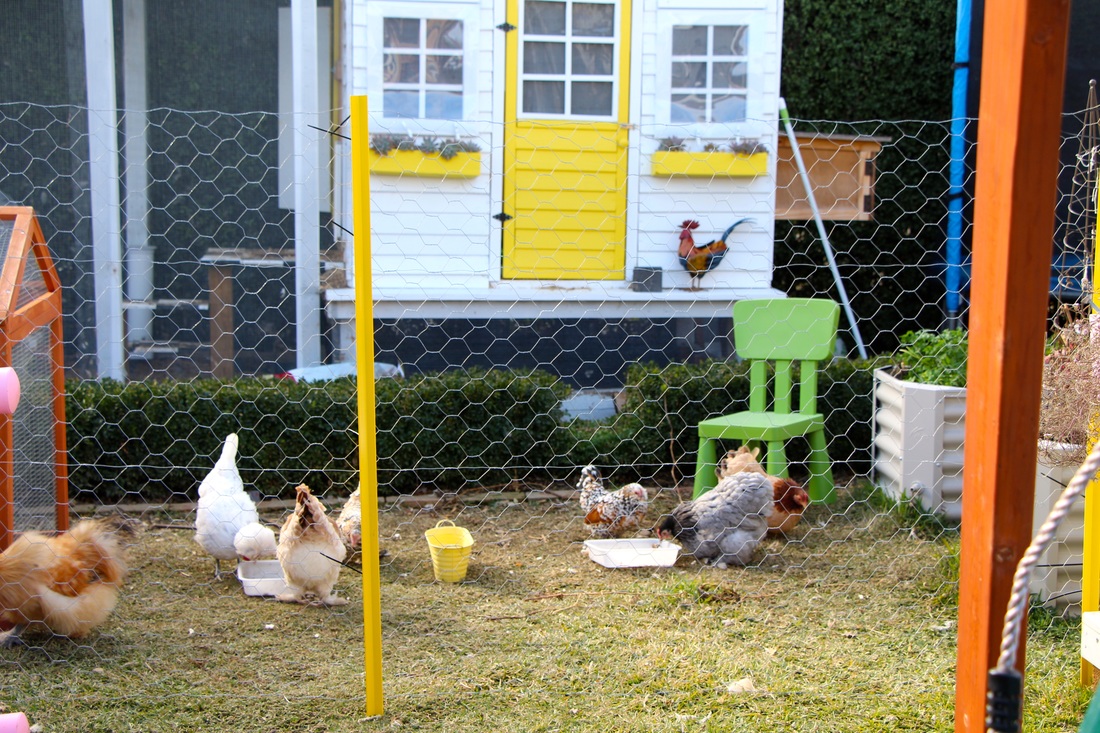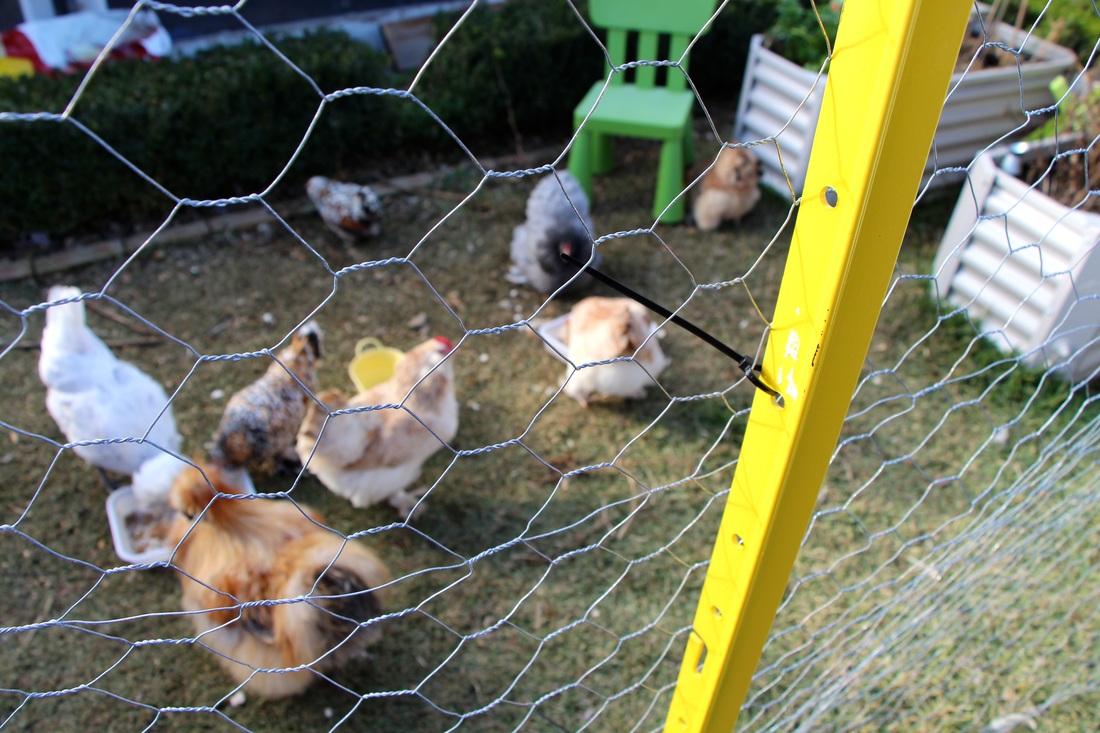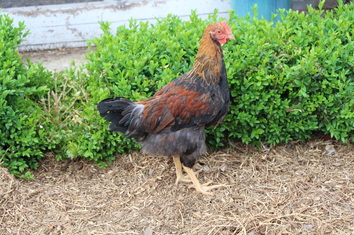
It has been ages since I posted anything about our 3 super cute chicks. Well, it is perhaps unsurprising to say that they are no longer cute little fluff balls! They are now approaching 16 weeks and developing their wonderful Welsummer colours. I have 2 pullets and 1 cockerel. This was not in any way a surprise as it was evident from their distinctive markings when they were chicks that I had 2 girls and a boy. I must say that I rather like the Welsummers for this reason... The cockerel, as beautiful as he is, will not be able to stay once he starts crowing. At the moment though he is being bullied by my bantam girls including the pint sized Belgiums. He is incredibly greedy though. Actually I should say that the Welsummers eat a huge amount. Maybe I am not used to proper sized chickens but they do seem to devour anything they come across and constantly eating. They even eat the plants that my bantams girls do not. For example, succulents, marigold leaves, lavender, apple tree leaves, the little fruit on my fig tree. As a consequence, I've had to move my small potted plants out of the chicken yard.
As for their personalities- they seem to be well tempered birds and not at all bossy despite their size (also probably because they are the youngsters in the group). However, the Welsummers are very skittish birds. Again this could be because they are young. They run away from me when I step into the chicken yard or move in their direction, UNLESS I have food! It is incredible that such skittish birds will then come right up to me and eat out of my hands like my bantams.
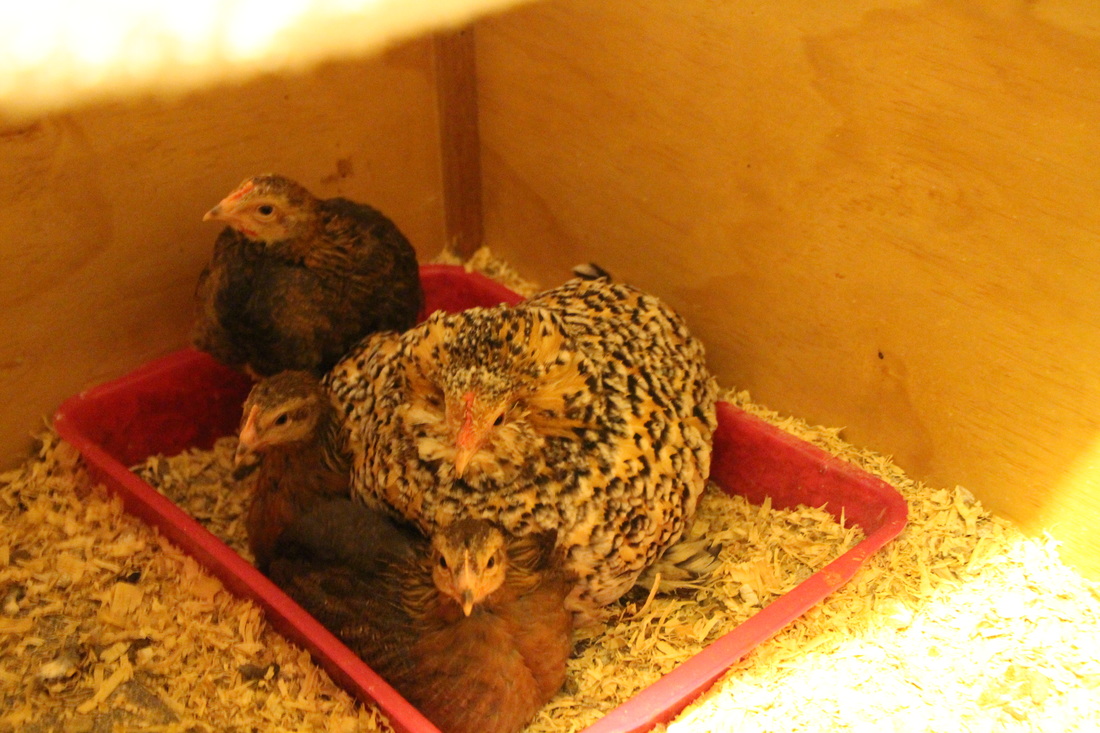
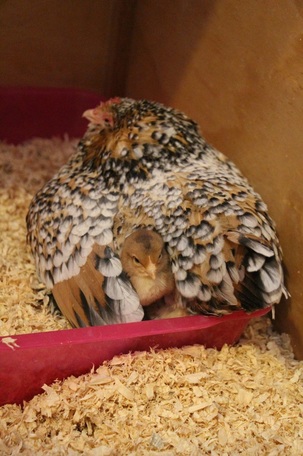
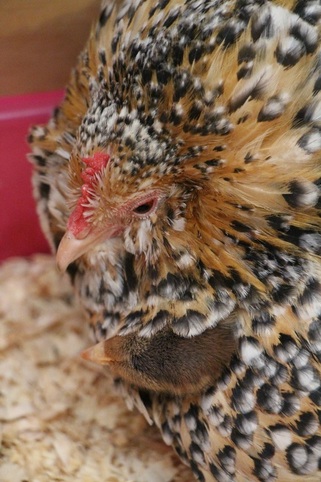
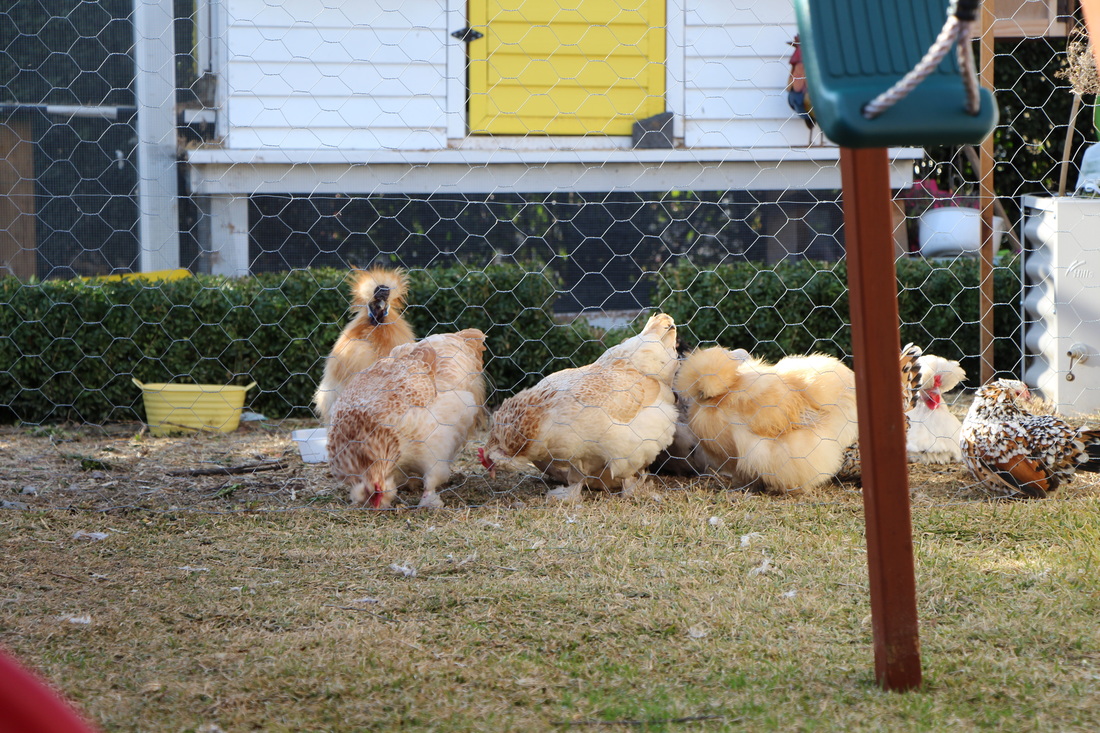
All in all, my experience with Welsummers has so far been good. And so was the Chick Adoption process. Fleur, my Belgium bantam, was a great mother to these three until they got a little too big for her! She still keeps them in check every now and then, and they still steal food from her beak! Cheeky Summers!
All in all, my experience with Welsummers has so far been good. And so was the Chick Adoption process. Fleur, my Belgium bantam, was a great mother to these three until they got a little too big for her! She still keeps them in check every now and then, and they still steal food from her beak! Cheeky Summers!