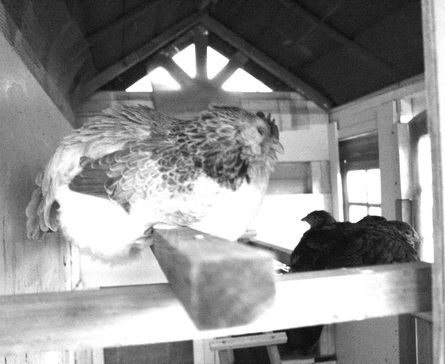
 Nina, one of our Salmon Faverolles enjoying the new roost bars.
 I finally had it with the existing roost bars in the coop. It wasn't the roost bars as such that were the problem- it was the fact that it was a free standing structure. This meant it had legs and a base that got in the way of cleaning the coop. I didn't realize at the time of designing the roost bars just how annoying it would be to clean around the legs, not to mention how much longer it would take because of it.
So on this gorgeous spring day, I tackled the problem. Thankfully I had surplus 50 x 35 mm timber already on hand, and almost the right size. I even had L shaped brackets and screws. Getting material and equipment together was a breeze. What wasn't was removing the free standing roost bars. Firstly I had to clean the coop floor so that I could get into it to dismantle the thing because of course it was just a little too wide to get out the door! (it was constructed inside the coop....). Then I had to scrape off the poo to uncover the screws in various places. Yuk! Anyway some 90 min later I finally had the thing in manageable pieces.
Putting the roost bars was relatively easy- for the front lower roost bar the L brackets were installed first and then the timber roost bar. The rear higher roost bar was a little different- one end is screwed into the L bracket, the other is attached to a piece of timber that spans the opening of the door that opens into the run. Still all in all, it was very satisfying to have been able to use existing timber and materials to construct these roost bars.
Final step was to assemble a new ladder for the girls- the old ramp is far too yuckky to reuse and wasn't the easiest for the girls to use.
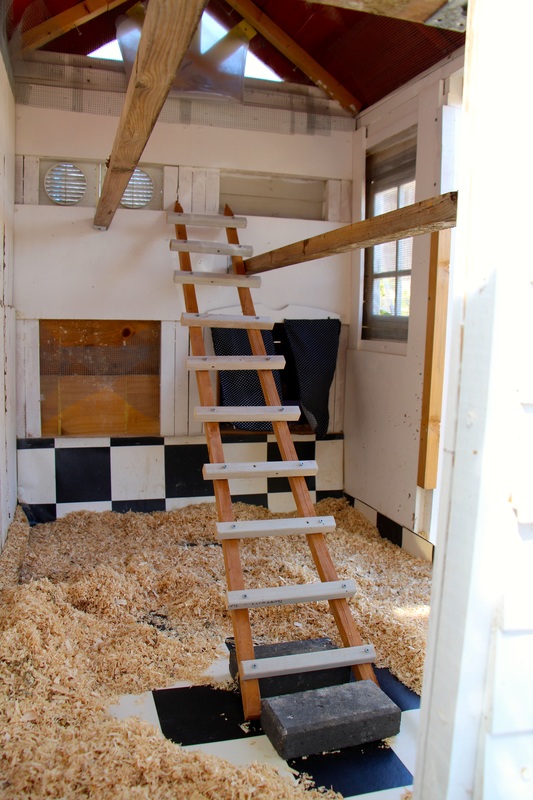
The revamped coop interior. New roost bars and ladder.
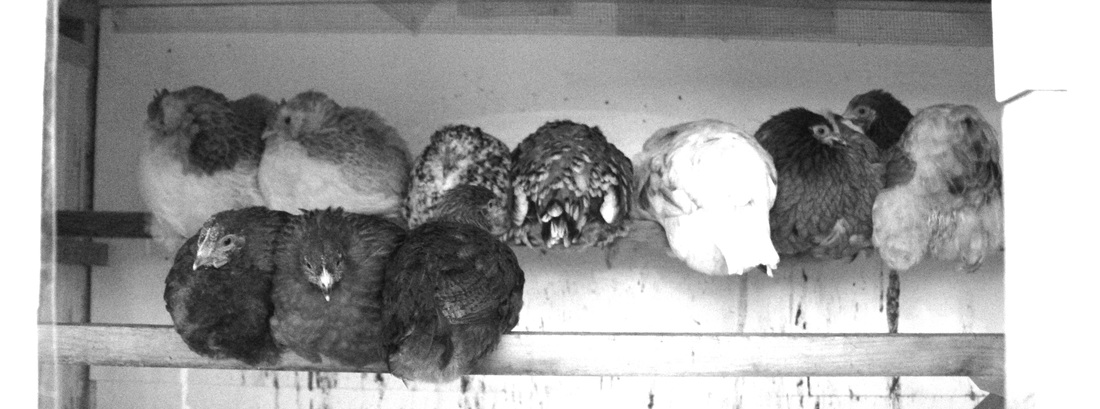
Huddling up for the night. From the left rear: a pair of Salmon Faverolles, a pair of Belgium bantams, one Polish and a pair of Pekins. At the front: 6 week old Welsummers