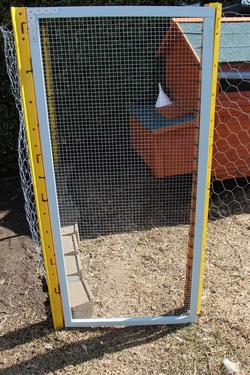
The very important gate! My gate is super simple to assemble. It might not be the nicest thing around but it does the job. See the 'step-by-step' guide below.
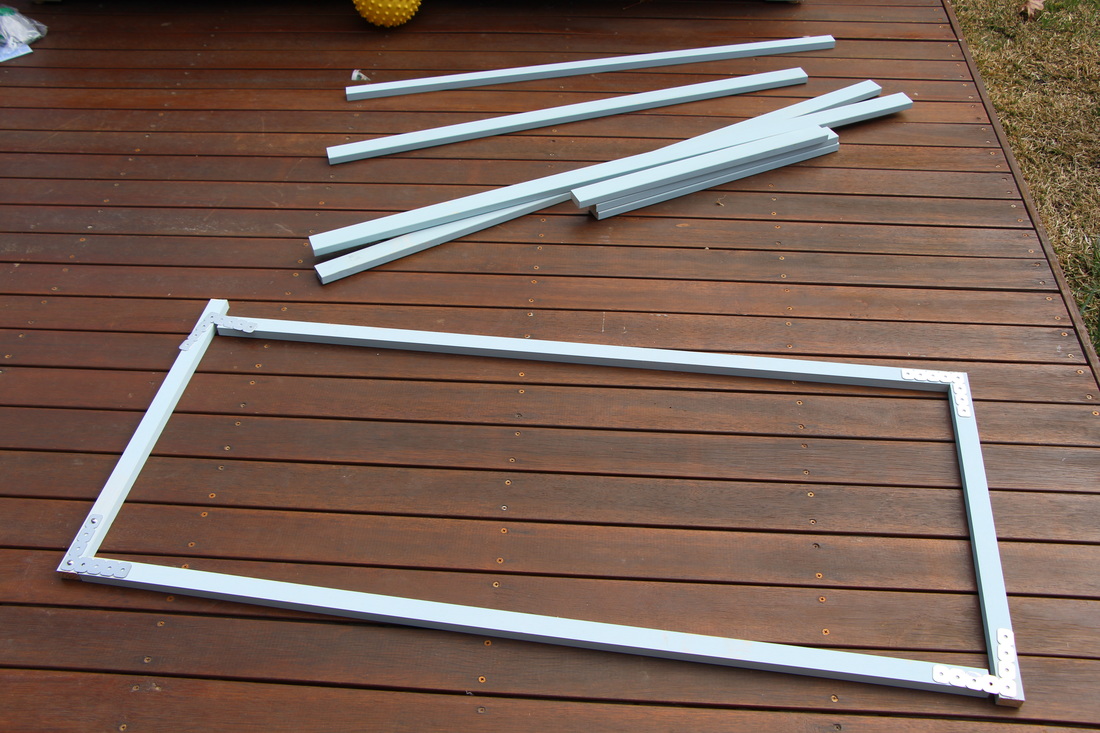 STEP 1: Measure up your desired gate and either cut the timber lengths yourself or get the timber store to cut it to size for you. I used fairly light pre-primed treated external grade timber lengths (35 x 18 mm). 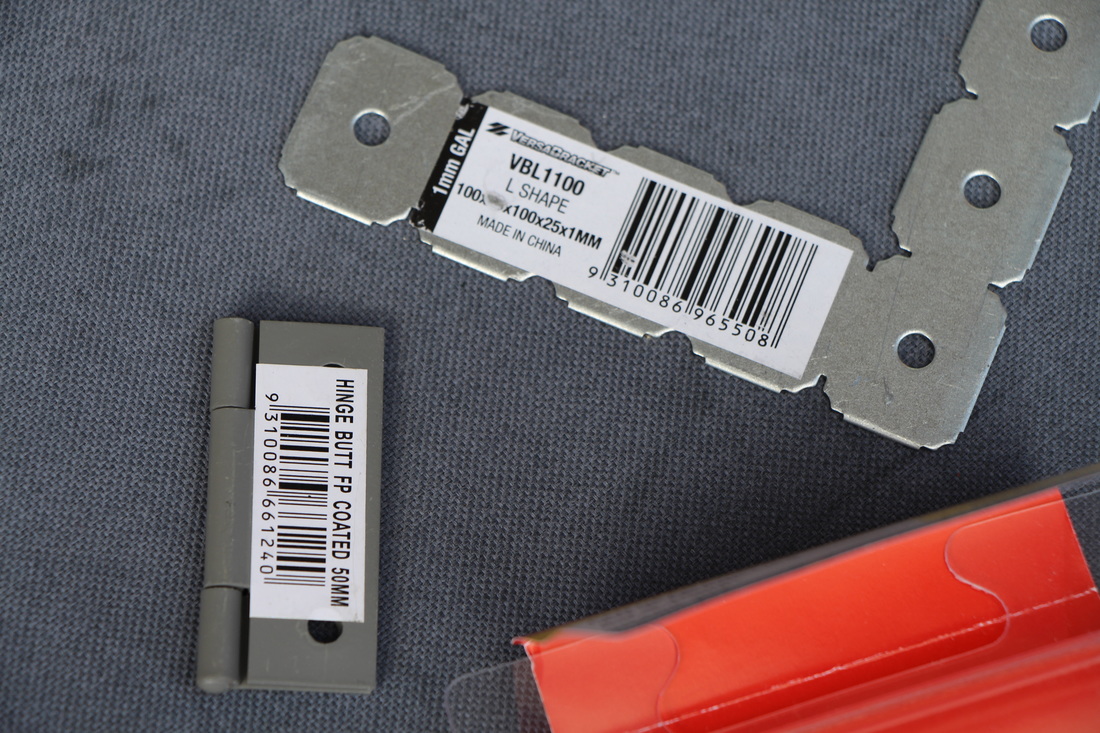 STEP 2 Continued: Other supplies required are L-shape corner fasteners, hinges, drill, appropriate drill bit, tin snips, staple gun and wire mesh. 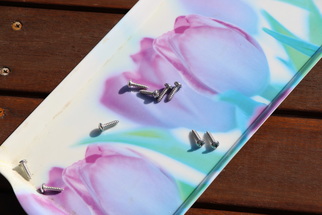 Just a pretty picture of my screw holder! | 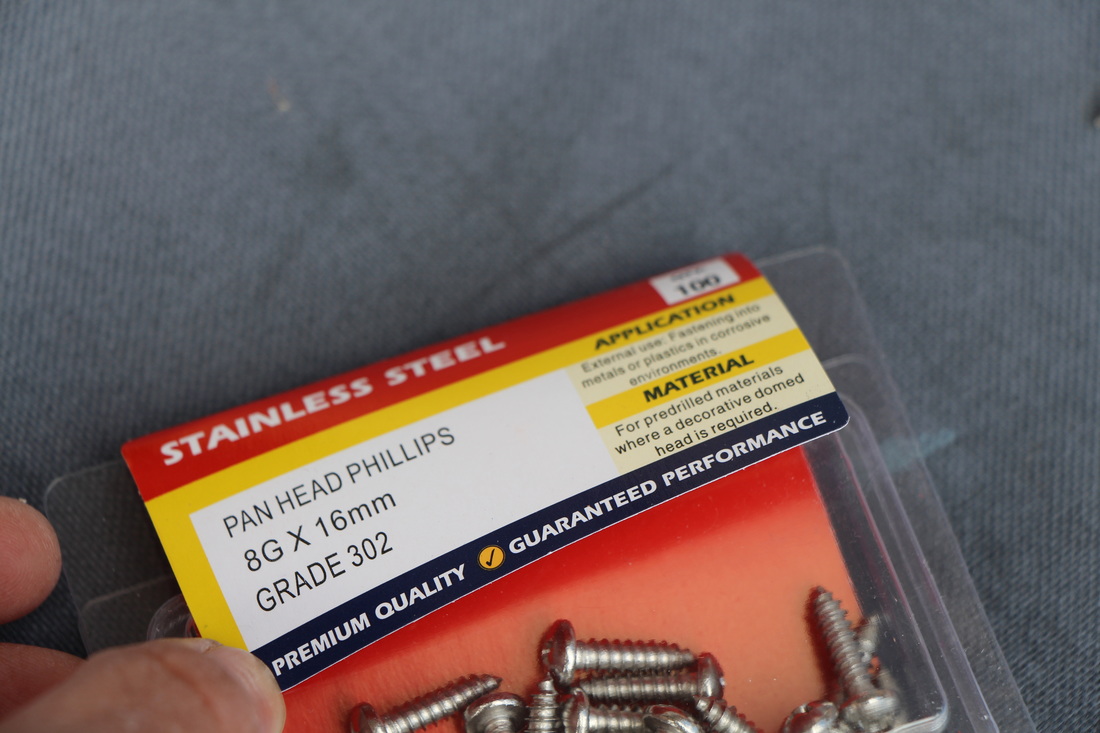 STEP 2: Gather other supplies like outdoor treated timber grade screws. I chose the 8G x 16 mm because my timber was only 18 mm thick. 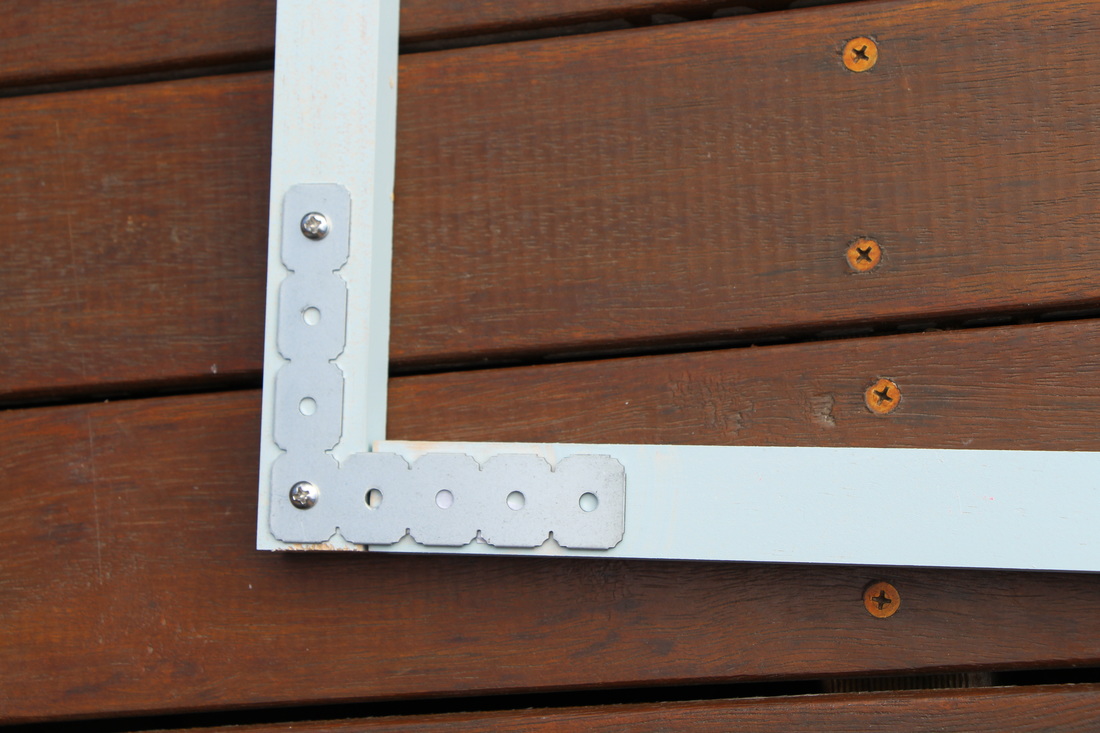 STEP 3: Firstly I lined up the timber pieces and screwed them together as shown with the fasteners. If you were really pro-you would cut each timber at a 45 degree angle (e.g. see you home door frames) and make is uber professional and then screw it together. Repeat for each corner/ join. 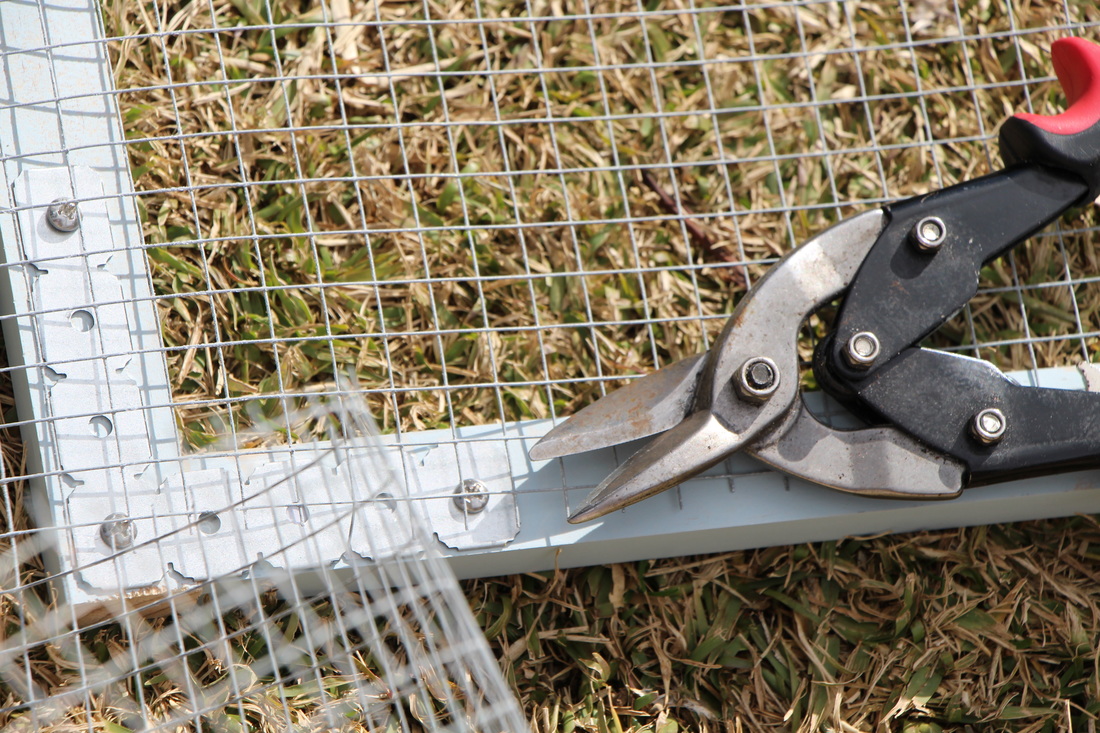 STEP 4: Once the frame has been put together, lay over the wire mesh and cut to size. |
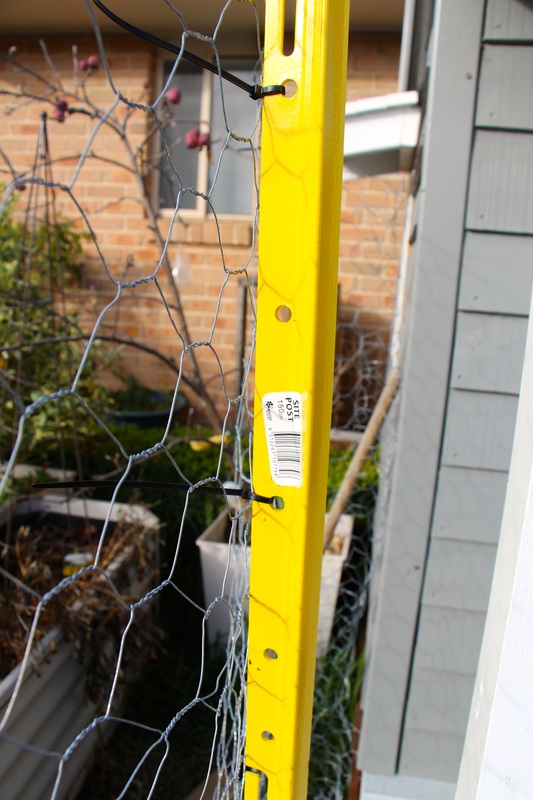
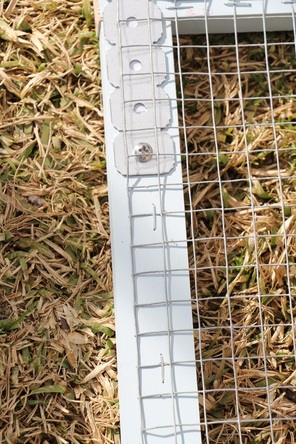 STEP 5: Staple the wire onto the frame. I chose not to use chicken wire as I needed some tension to strengthen the simple gate. I like to do this as I go with the cutting so that it is all aligned and there is little opportunity to get the cuts wrong. Cut away all sharp pointy bits of wire or bend them so that they cannot snag on chickens or children. 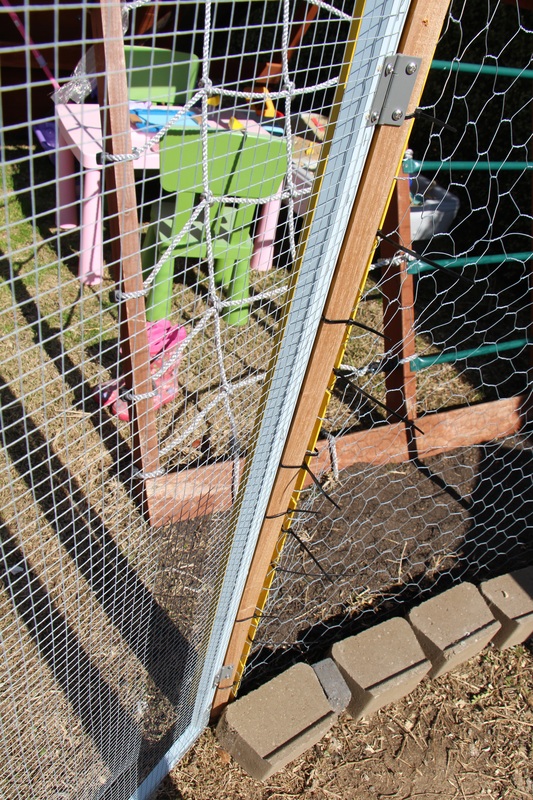 STEP 6 Continued: 2 hinges per gate. You can see all the cable ties holding the posts and chicken wire tightly together. | 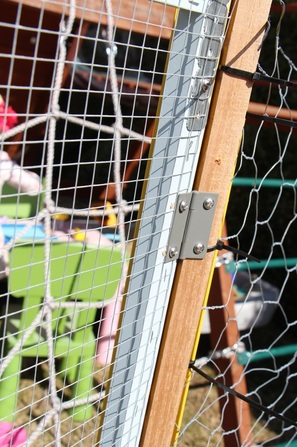 STEP 6: Attach the hinges to gate and to the post. I used two hinges for this gate. 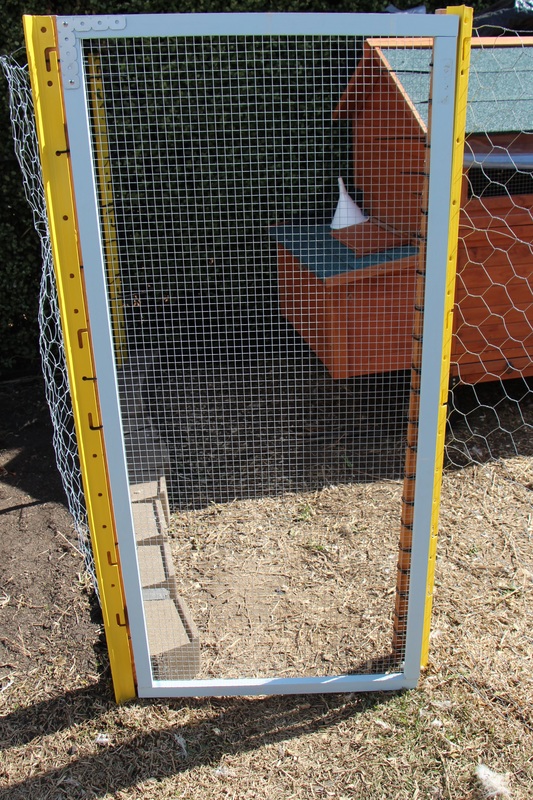 STEP 7: Step back and admire your handiwork... I did even though the finishing touches (handles, paint) have not been applied. I was planning on using a self-closing spring on the door but it stays in the shut position on its own so I won't be using the spring. |